Installation
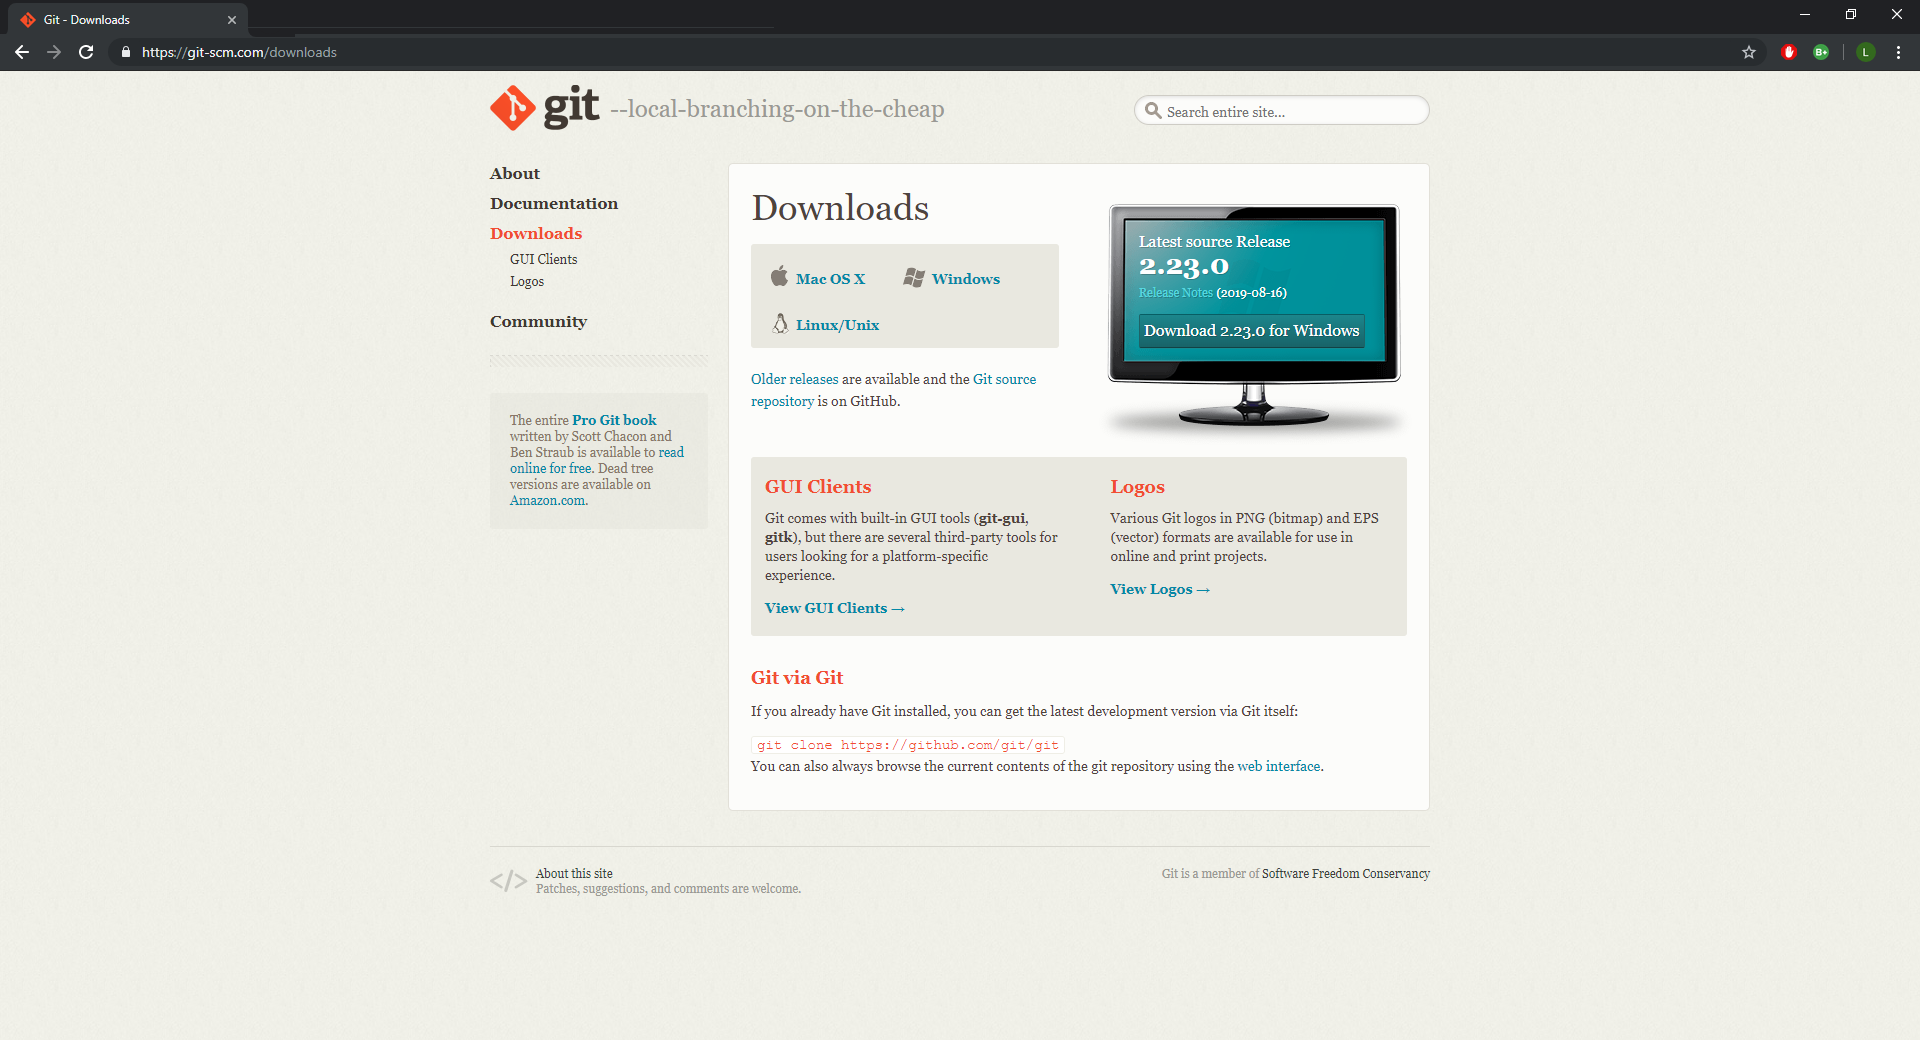
- First install git for windows from git-scm.com/downloads
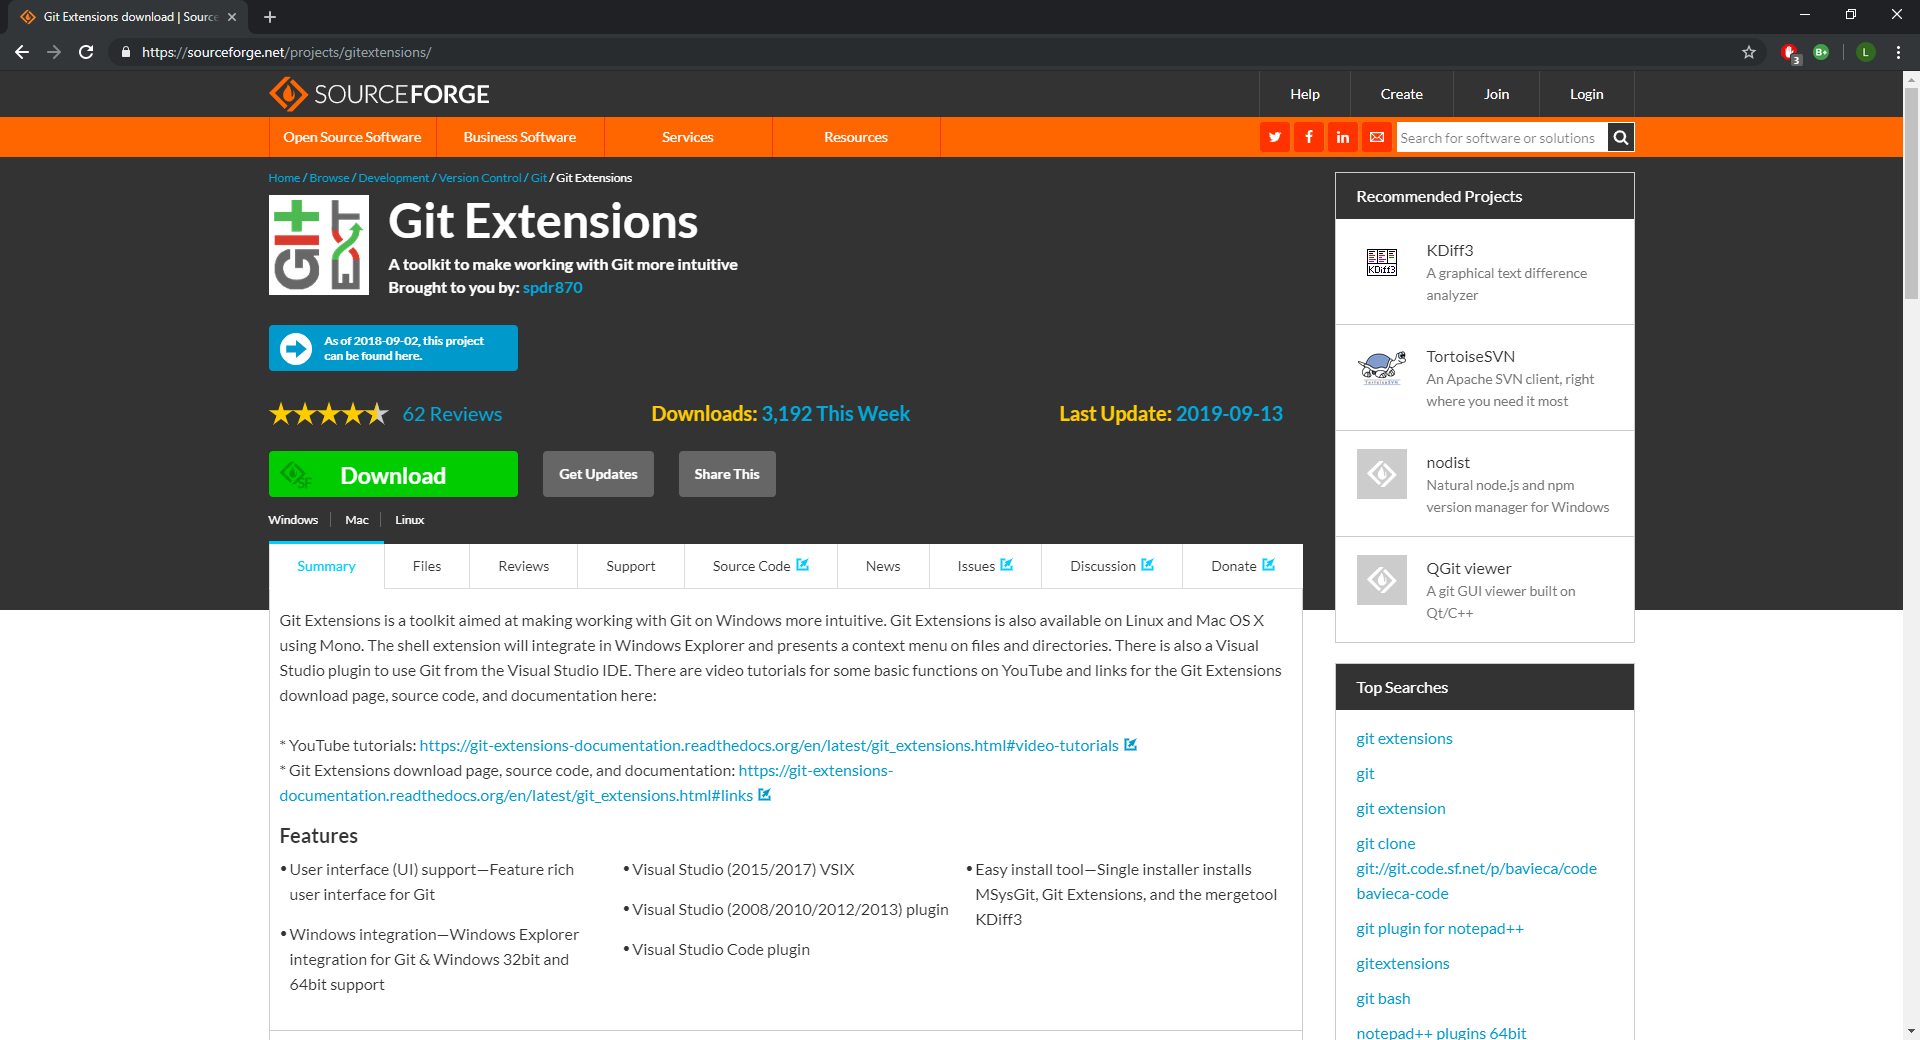
- Go to sourceforge.net/projects/gitextensions and click download
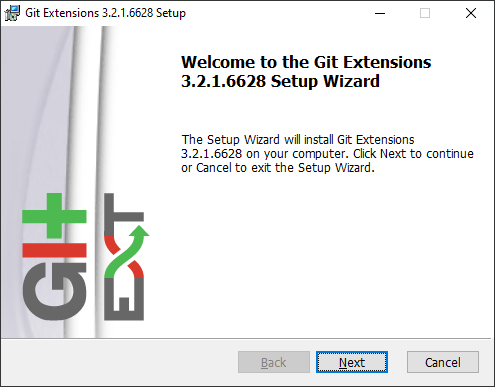
- Follow the instructions on the installation wizard to install Git Extensions
Opening a repository
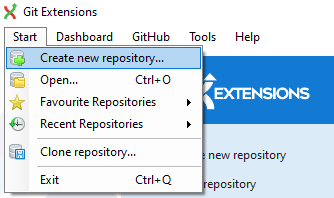
To open a repository there are three options:
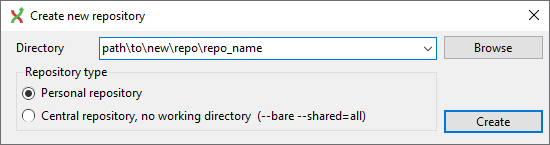
- New: You can create a new git repository. Git extensions allows you to choose the location of where to make the new folder and what to name the new repository. It will then create and open it.
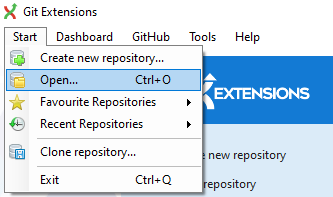
- Open: when you have a local git repository you can simply open it by supplying the path to the folder.

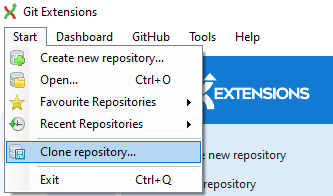
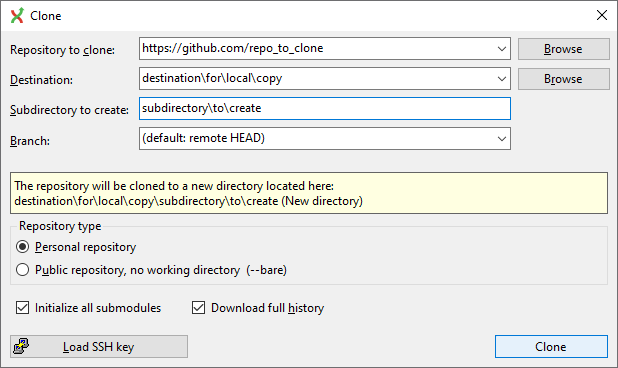
- Clone: you can clone a repository from Github. Git extensions will require you to supply the address of the repository you wish to clone, the destination of the local copy and the name that the local repository.
Git extensions interface
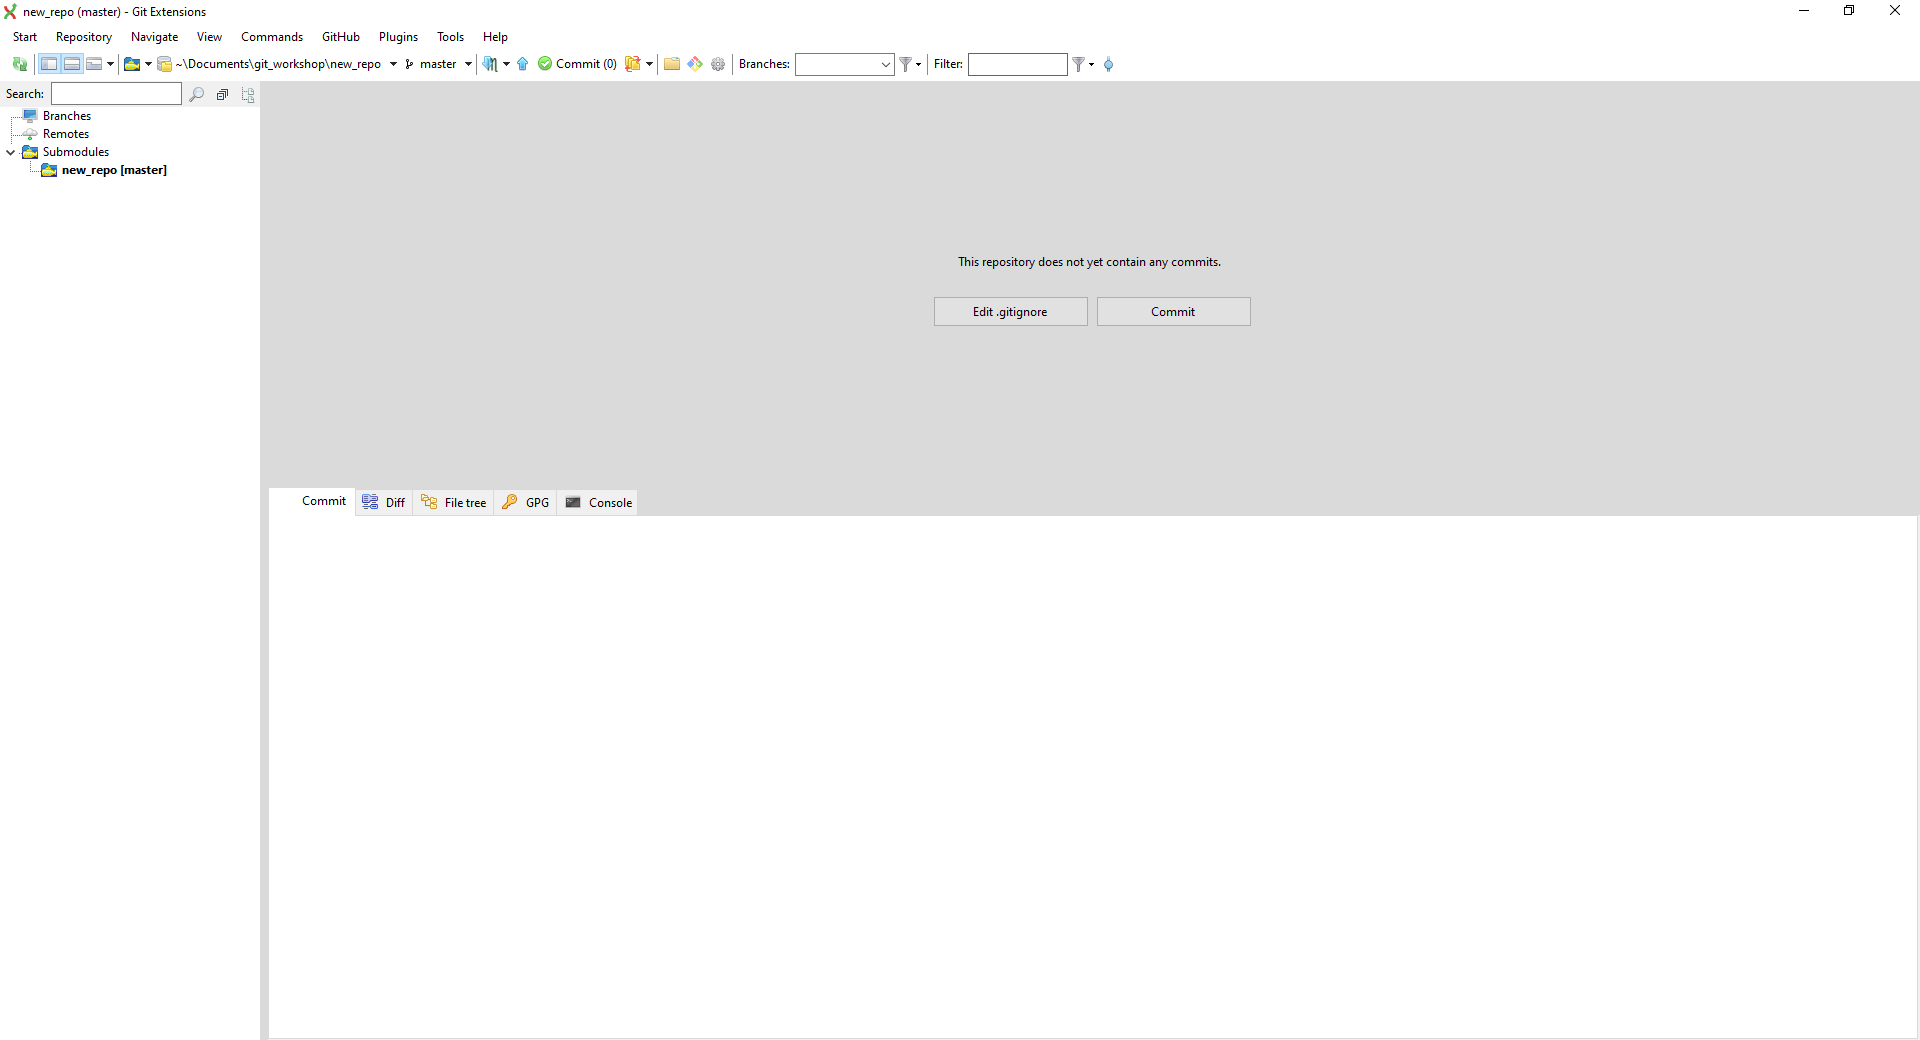
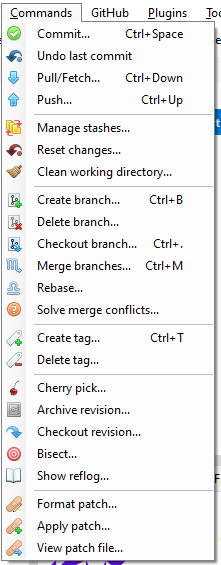
The commands covered in the main workshop (slides available at https://jwalton.info/teaching) can be found in the command menu.
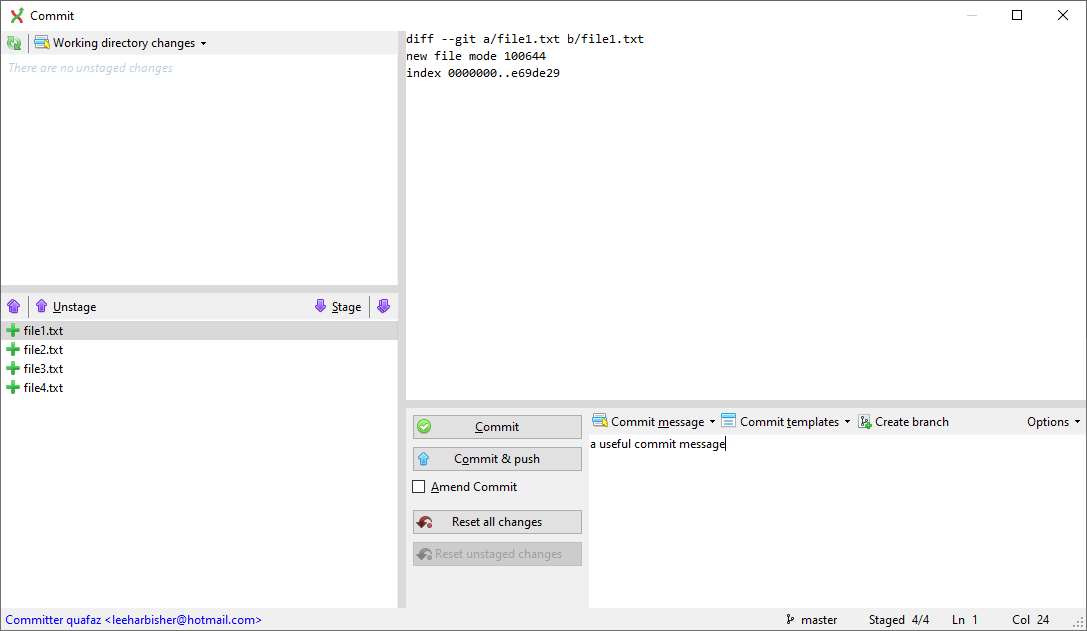
Committing changes
When using git we should commit changes regularly with useful commit messages. We can do this easily via git extensions by choosing Commands>Commit. This will open a window where we can choose which files which should be added to the commit via staging. Only files that have been changed appear in the staging area. A commit message should be added in the box in the bottom right of the window before clicking either Commit (to commit changes locally) or Commit & Push (to commit changes and push those to the remote repository on Github).
Branching
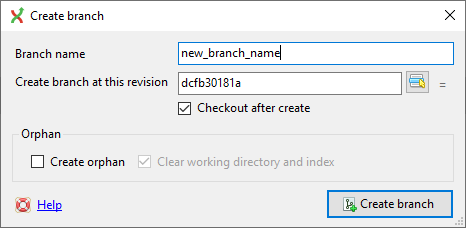
You can add a new branch by selecting Commands>Create branch. This will open a window where you can choose a name for your new branch. Clicking Create branch will create the branch and checkout to it if the option was selected.
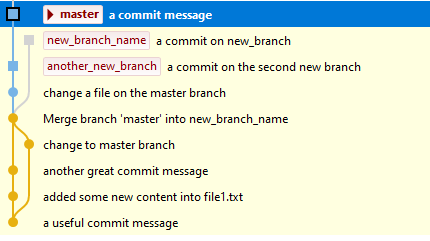
The interface of git extensions gives you a visual summary of the changes have been made to the various branches within a repository.
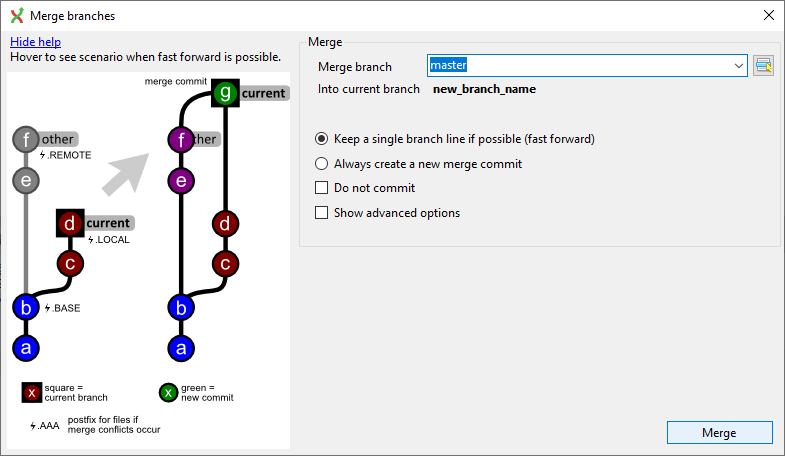
When you want to merge the changes from one branch into another you can select Commands>Merge branches and select which branch you want to merge into the current branch.